

I have always wanted to make Cake Pops. For as long as I have been baking and making candy, I oddly have not attempted cake pops. I say attempted because these were a bit harder to do than I had expected! A big round of applause from me for the bakers that have perfected these.
I started out with the idea of making some ghost cake pops for my family and coworkers. (My photo above, we call him the Forkey Cake Pop) My coworkers have been my taste testers for years and always give me good honest feedback. I thought mine turned out too moist, but they all agreed that the cake pops were delicious and better a moist cake than the cake pops being dry.

I started with a basic box cake mix. I selected Betty Crocker Spice Cake Mix; I bought the super moist one that had pudding in the mix. Now I think it might be why the consistency was off. Next time I will buy a different one for cake pops. It was a delicious cake and the house smelled amazing like pumpkin pie. Follow directions on your cake mix. Mine required eggs, oil and water to be added to the box cake mix. Allow the cake to cool for 30 min to an hour after baking.

When cake is cooled you can begin the process of crumbling the cake. I started with a small container and quickly realized I needed a bigger container. (I yelled "We're gonna need a bigger boat!" my husband rolled his eyes at my ever-present movie references to all life situations LOL) Let me know if you know the movie.

After crumbling the cake into tiny pieces, I added 3 heaping dollops of cream cheese frosting to the cake crumbles. Stir in the frosting to make an even mixture of cake and frosting with a wet sand like consistency. Roll cake into 1 inch size balls. Set in fridge for 4 hours or freezer for 30 minutes.

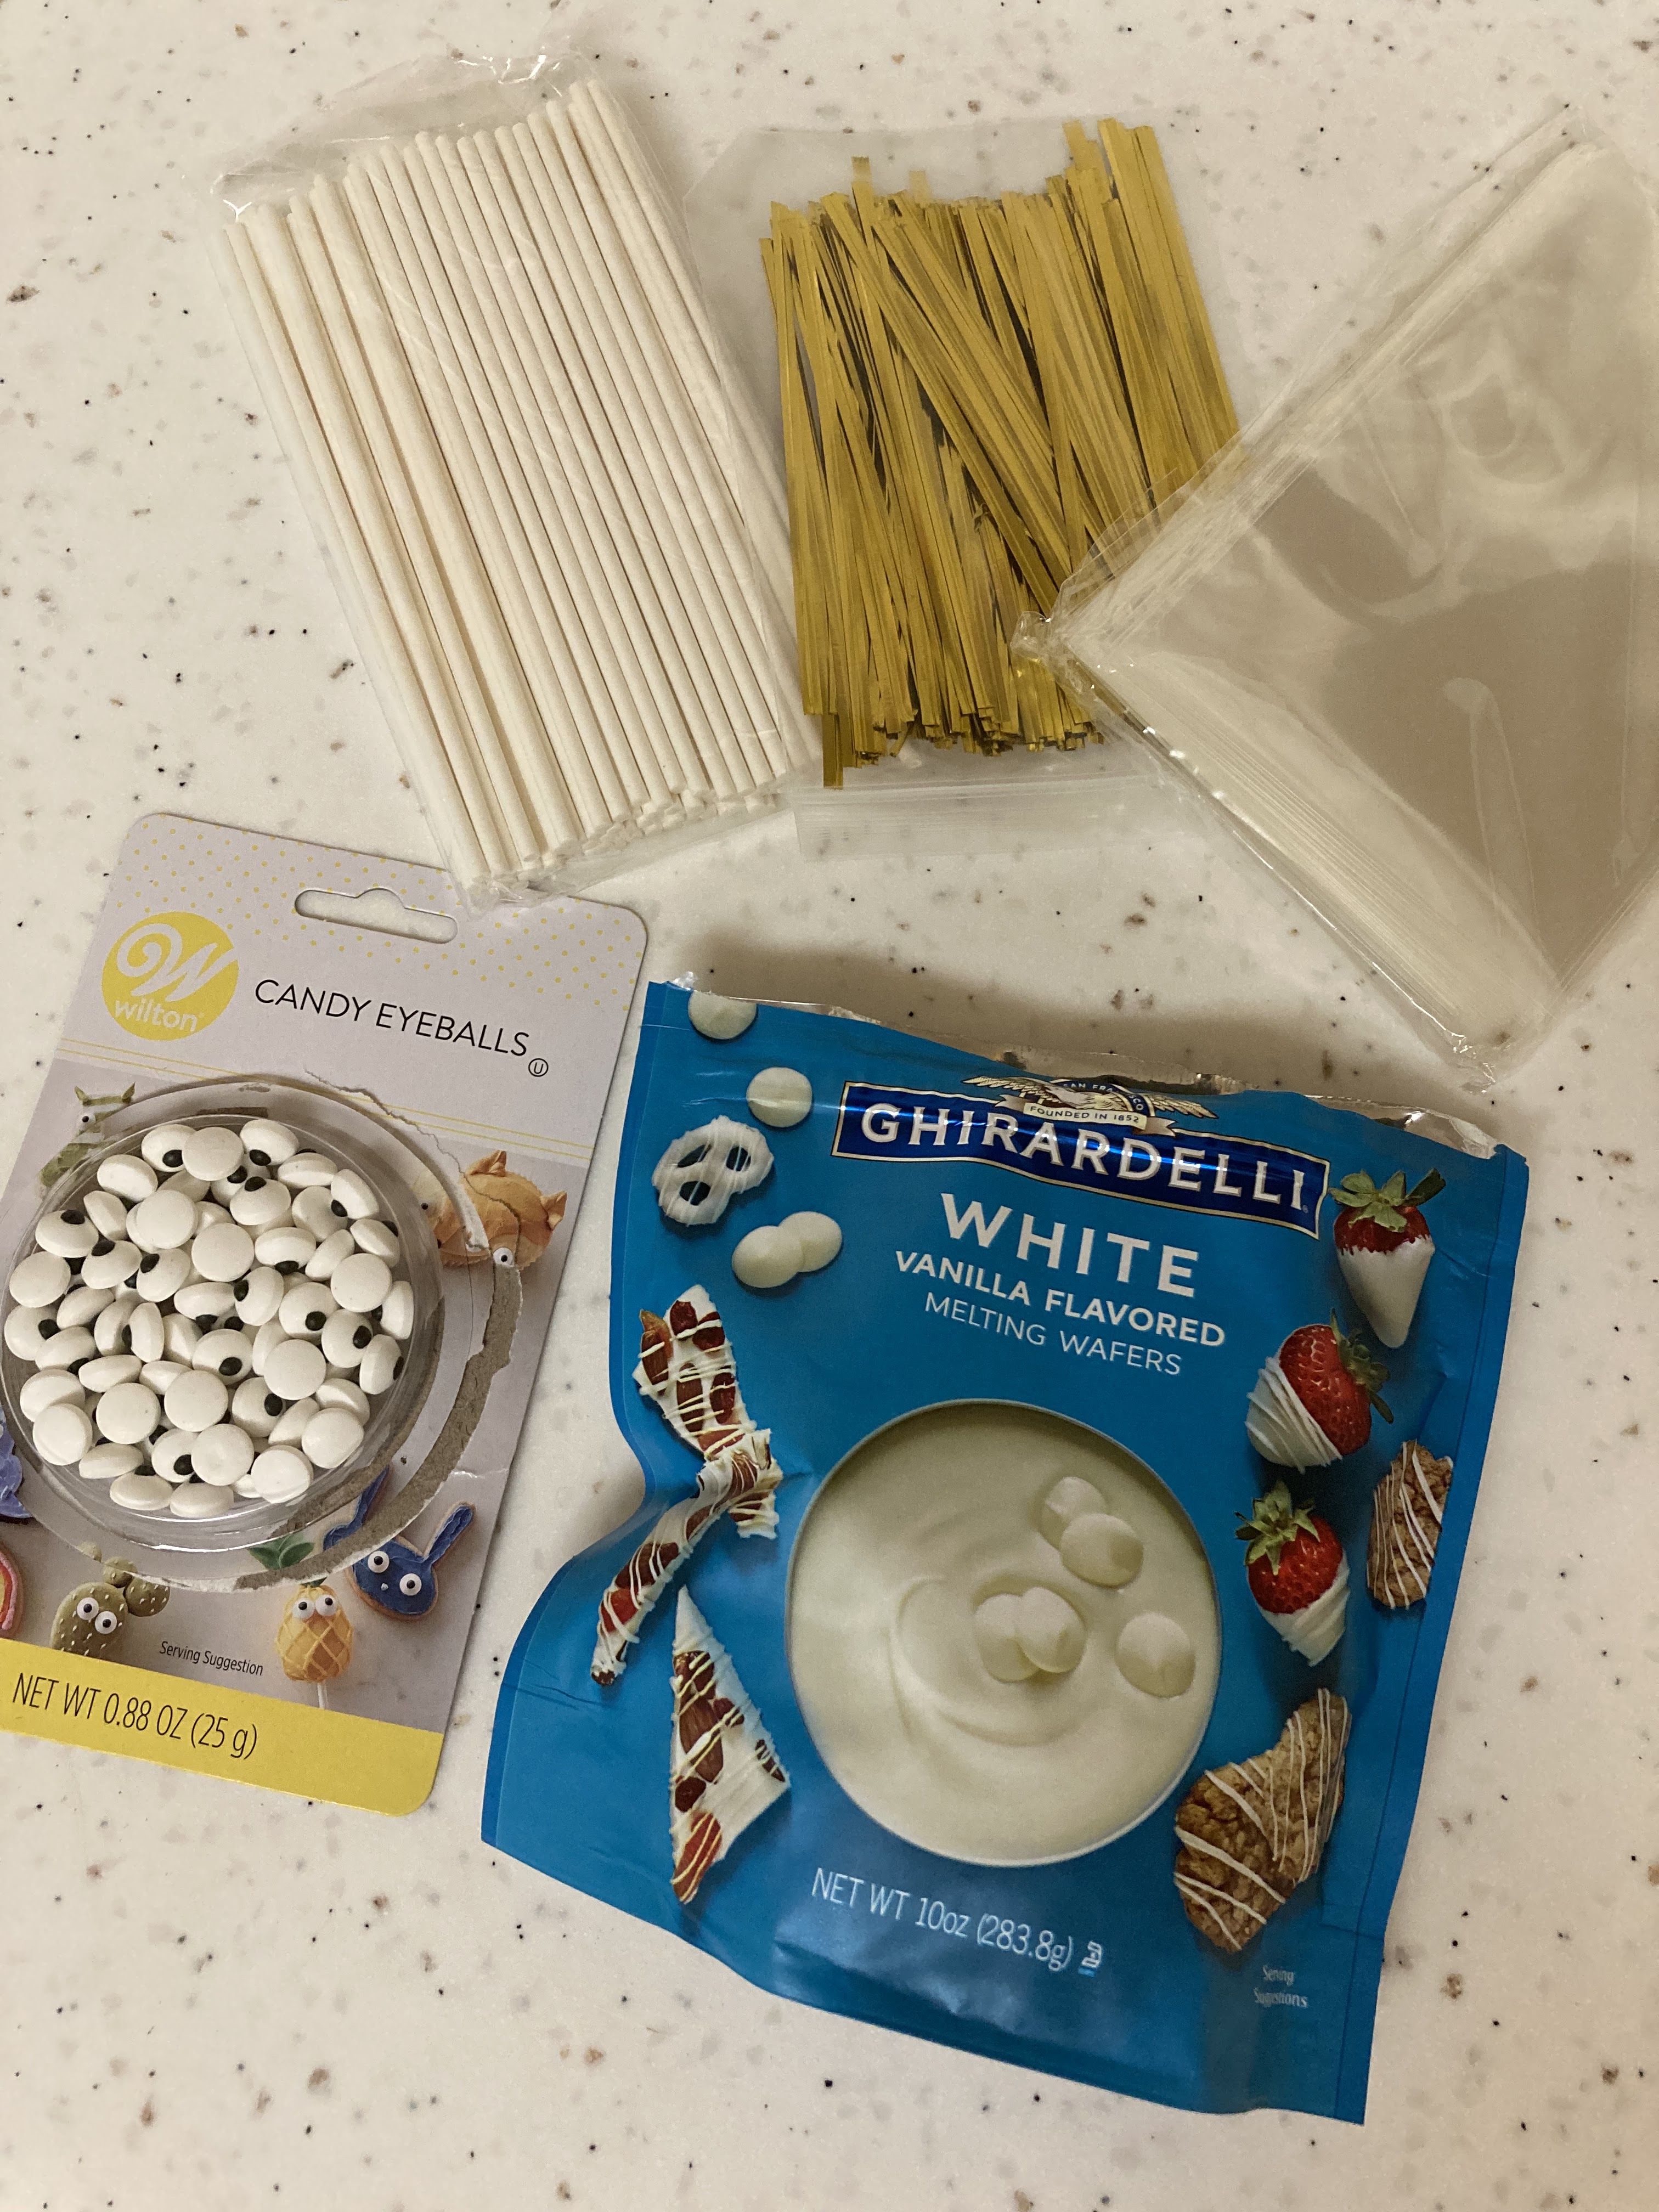
I opted to freeze mine for 30 min to get the Cake Pops set for dipping. I prefer to use melting wafers when dipping items for treats since it is easier to use than other chocolates. I purchased a cake pop kit from Amazon for the sticks, bags and twist ties. I also bought Candy eyeballs and Halloween sprinkles at Walmart.
I did say I like to use melting wafers since it is easier BUT that is not to say you still can't ruin them! HA! I accidently burnt the chocolate in the bowl on the right and wanted to share how it can be burned in the difference of a few seconds in the microwave. Follow the instructions for melting on the bag you purchase. Mine did not look melted but if I had stirred them while in wafer form after the set time for melting, I would have realized they were ready. Trial and error are expected when learning to make something new.

I poured out my toppings of eyeballs and Halloween sprinkles onto a plate to be ready to place on the cake pops once dipped in chocolate.

Dip the tip of your cake pop stick into your melted chocolate and insert it about halfway into the cake ball. Dip the cake ball into the chocolate. Remove and gently tap on the side of the bowl to allow excess coating to drip off. I did have some cake balls fall off into the chocolate, but I spooned them out and put them back on the stick.

So, I am going to definitely point out that I forgot a crucial item in my Cake Pop adventure. A cake pop stand to allow the chocolate coating to dry! I improvised with an oatmeal box that I poked holes in with a pencil. If using this method, I suggest removing the oatmeal packets from the box before poking holes with a pencil. How I know this, well again trial and error. HA!!

My first handsome Halloween Cake Pop made with Spice Cake and Cream Cheese frosting. Delicious!


No comments
Post a Comment