Happy November 1st! My favorite time of year is October and November. It rained today in California and it's kind of a big deal! To celebrate I made Pumpkin Spice Fudge. I love the scent that fills the house when I make it. Smells like Fall!

For my fudge there are specific brands I love to use for the ingredients. For the sugar, C&H is one of my favorites. When we drive into San Francisco we drive past the factory and the jingle from the commercials always plays in my head. Jet-Puffed is a must for the marshmallow creme. I have tried other brands and it is not the same. McCormick is a great brand for spices. They make a great pumpkin pie spice mix. I am trying to find a really good organic one, let me know if you have any recommendations. This year I am trying the Target brand Good & Gather for the pumpkin and maple syrup. My butter, not pictured, is always Land O' Lakes.

RECIPE:
3 Cups of Sugar
1 Tablespoon of pure Maple Syrup
3/4 Cup of Butter (1 1/2 Sticks)
2/3 Cup of Evaporated Milk
1/2 Cup of Pumpkin Puree
1 1/2 Tablespoons of Pumpkin Pie Spice
2 Cups of White Chocolate Chips
1 jar (7 oz.) Marshmallow Creme
 |
| I always use a deep pot for candy making to prevent the hot ingredients from splashing me. |
Instructions
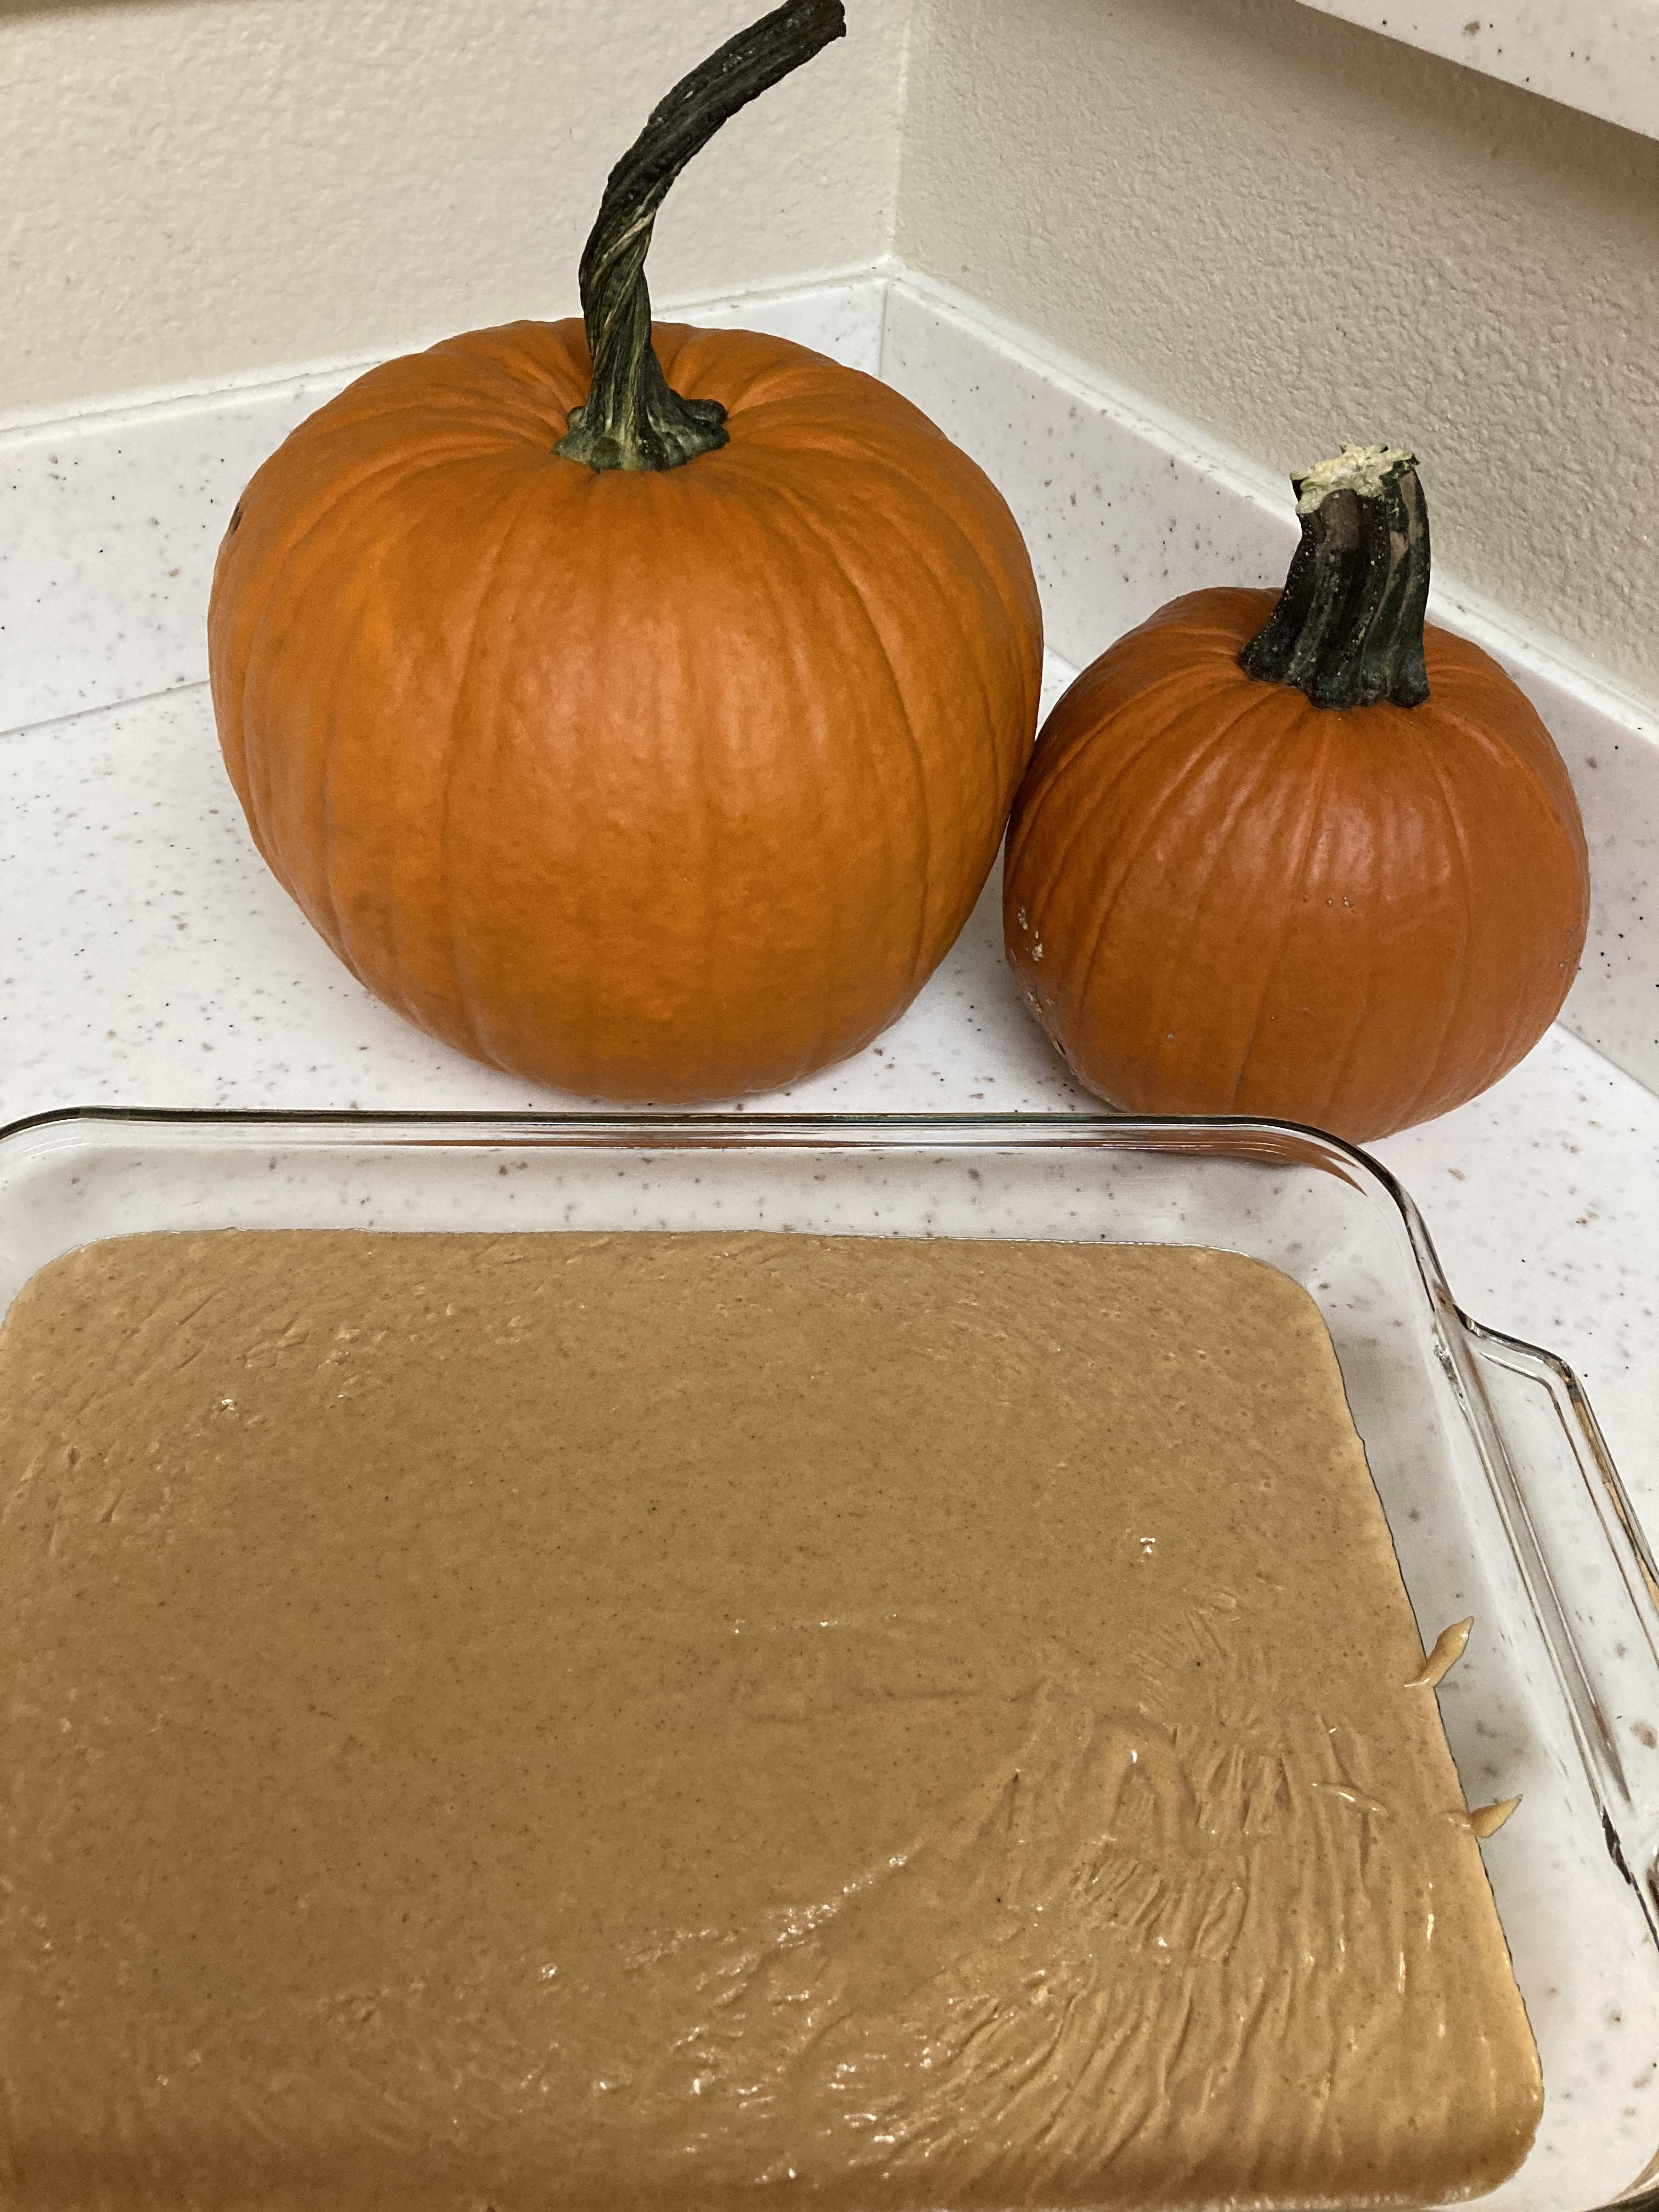
1. Grease a pan with butter to make the fudge easier to cut out to serve. I used a 10x14 pan since I was looking for smaller pieces of fudge, if you want it thicker pour into a smaller pan.
2. Put sugar, maple syrup, evaporated milk, pumpkin, butter and pumpkin pie spice in a pot. Bring to a full boil over medium heat. Stir constantly!!! (You will burn the sugar in the fudge if you let it sit and reach a boil) When it reaches a boil, keep stirring for 5 minutes or until your candy thermometer reaches 230 degrees.
3. Take the mixture off the heat and immediately add the white chocolate chips and marshmallow creme. Stir until all the chocolate chips are melted and the marshmallow creme is incorporated.
4. Pour the mixture into your greased pan and let cool for about 2 hours. Cut into 1 inch pieces and serve. Store in covered container in the fridge.
 |
| After pouring the fudge into the greased pan I always scrap the inside of the pot for a warm delicious, sweet treat of the leftover fudge. |